If you find yourself drawn to the allure of vintage aesthetics, then learning to do victory rolls is your ticket to attaining that immutable appeal you are after. The iconic hairstyle with its signature swoops and curls depicts the essence of retro splendor like no other. Plus, its versatility enables you to wear it for everyday, casual excursions as well as special occasions. While the flawlessly coiffed hairdo appears gorgeous and endearing, achieving it may seem like a daunting task. However, we are here to assist you with exactly that. In this article, we will guide you through each stage of the process, from preparing your hair and mastering the intricate rolling technique to ensuring your do remains in place all day long. So, without further ado, gather your styling products and get set to embark on a voyage into the realm of victory rolls! Read on!
What Is A Victory Roll?
A victory roll is a classic hairstyle that is characterized by distinctive rolled-up sections of hair, often positioned at the front or on the sides of the head. This vintage hair trend was popularized by American women during the 1940s.
While the creator of victory rolls is unclear, it is believed that it received its name from the maneuver of fighter aircraft during the era in which US forces, as part of the Allied powers, emerged victorious. The aircraft would do a series of loops in the sky to commemorate a victory, and the design is said to replicate that pattern. When women styled their hair in this special manner, it was like a tribute to the valor and exhilaration of those fighter pilots. This is also why the appearance is sometimes considered a symbol of women’s fortitude and resilience during the time of the conflict. In modern times, it makes for a classic choice for fashionistas and vintage fashion devotees equally.
A Step-By-Step Process To Do Victory Rolls
Before you start doing these vintage curls, ensure that your hair is tidy. However, avoid shampooing it on the same day, as the appearance works best on hair that has some texture and is not freshly bathed. Once you have this covered, proceed to the victory rolls tutorial below.
Step 1: Prep And Curl Your Hair

Detangle your hair using a paddle brush or a wide-tooth comb to ensure there are no knots or tangles and spritz on some heat protectant. Then, select about half-inch sections of your hair and use a curling iron to produce a loose wave. Repeat until you curl your entire head of hair. These flowing curls will give your hair the elasticity and texture required to create the ideal victory rolls. Depending on your preference and style, you may even select for firmer curls instead of loose curls.
Step 2: Divide Your Hair
Once your hair is prepared and coiled, use a tail comb to divide it from ear to ear using the crown as a focal point. This section will be used to construct the triumph rolls. You may leave the curly hair at the rear as it is or use a hairband to bind it loosely.
Step 3: Part Your Hair
Next, construct a side part and divide your hair into two divisions, one on each side of your head. Use 3-4 bobby pins to secure the larger portion of hair by securing it approximately one inch parallel to the parting. This will ensure the hair is secure and expedite the procedure.
You may also select for a middle part or a modest side part, depending on your preference.
Cherry Valons, a blogger, explained that she does not like to do the middle segment. She writes in one of her blog posts, “Victory Rolls can be tricky, especially if you are parting your hair down the middle and trying to make them even. I prefer to use a side part. Doing so, you can make one roll larger, and one smaller (i).”
Step 4: Create Volume
On the pinned side of your section of hair, try backcombing using a tease comb to create volume. This will help your victory roll rise up and retain its shape. Smooth the surface of the teased section delicately with a comb or brush, so it appears tidy on top.
Step 5: Start Rolling
Wrap the agitated section around your fingertips and start rolling it inwards and towards your parting. As you roll, maintain the hair firm to create a uniform, defined shape. Continue rolling until you reach the top of your scalp and secure it in position with 2-3 bobby pins. Ensure to insert the pegs vertically into the roll to anchor it securely.
Read Also: Achieving Glowing Skin with a Skin Care Routine
Step 6: Repeat On The Other Side
Now, add 3-4 bobby pins to the other side of the parting and repeat the backcombing, rolling, and pinning procedure to create a symmetrical appearance.
Step 7: Add Finishing Touches
Once both your victory rolls are in position, you can modify them as required to ensure they are even and seamless. Then, use a strong hold hairspray to establish the style and control any flyaways. If you have textured hair that holds up designs fairly well, you may even select for a lesser hold hairspray.
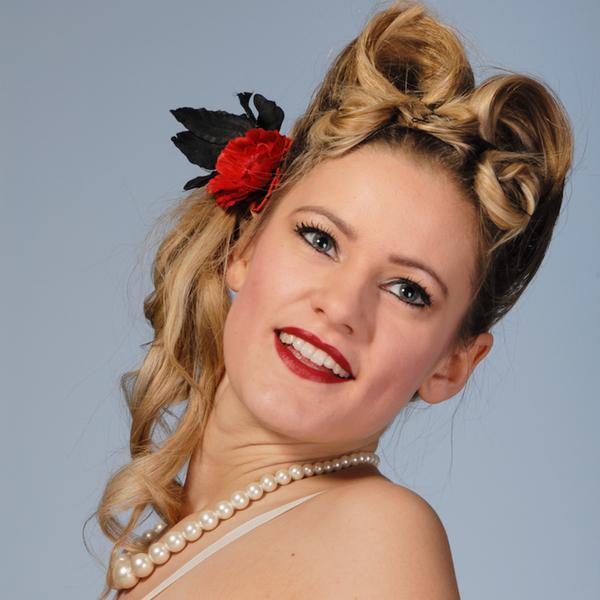
Step 8: The Final Look
And there you have it – the perfect 1940s victory rolls! Take a moment to observe your vintage-inspired hairstyle, and if you like, you may also add accessories such as hair blossoms or ornate pins to embellish your appearance.